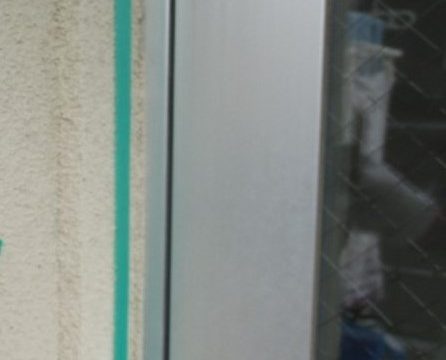
先日窓枠のシーリング工事をしました。
![](https://trust-326.com/struct/wp-content/uploads/ae2af90088e010183a85b0dec9644516-446x360.jpg)
まず、綺麗に養生します。
![](https://trust-326.com/struct/wp-content/uploads/f323a7bb4c1b72558b73d9042ad7091c-453x360.jpg)
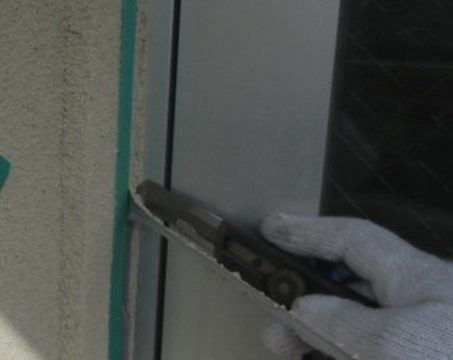
劣化している為、シール部分を外していきます。
![](https://trust-326.com/struct/wp-content/uploads/429d23ca9efd9e870abd9efc9ae21a98-402x360.jpg)
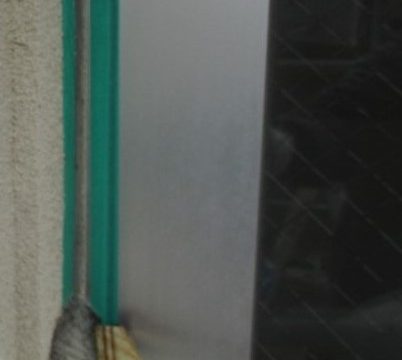
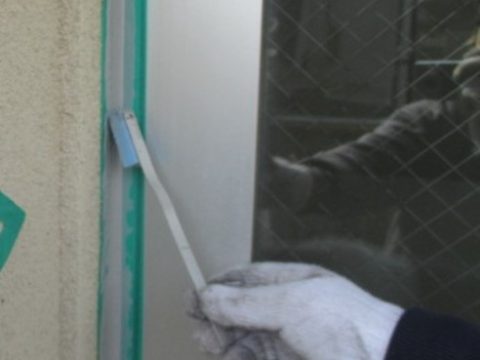
外し終わった後は、新しいシーリングがくっつきやすくする為の
プライマーを塗っていきます。
![](https://trust-326.com/struct/wp-content/uploads/d61905e29b1af583245fdb5dac52f81c-391x360.jpg)
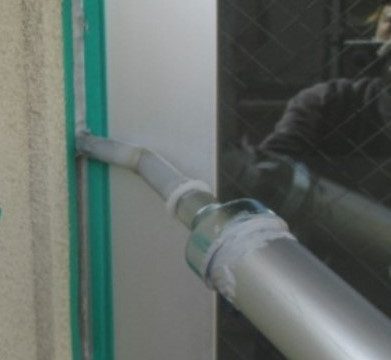
プライマーを塗った後はシーリング材を詰めていきます。
![](https://trust-326.com/struct/wp-content/uploads/4d21ce46abc3b509a1b6a04994d1ea0d-480x360.jpg)
固まる前に、綺麗に仕上がるようにヘラなどで押さえていきます。
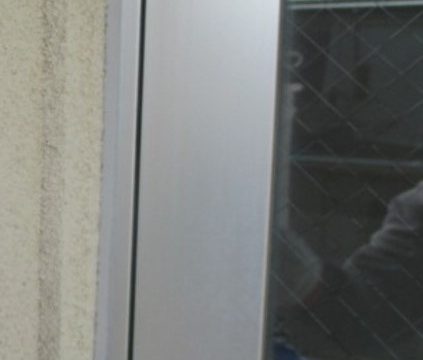
![](https://trust-326.com/struct/wp-content/uploads/a4c45fe6d8b236087da81e9d7cdfe799-423x360.jpg)
無事に、シールの交換が終わりました。
インスタグラムに施工中などの写真をあげてますので是非見に来てください♪
https://www.instagram.com/trust.326/